Finding your food sticks stubbornly to your new stainless steel pans? Worried about cleaning and maintenance? Don’t let these fears stop you from using fantastic cookware.
The main tricks are preheating the pan correctly before adding oil, using the right amount of fat, managing heat effectively (usually medium to low), and letting food cook undisturbed initially.
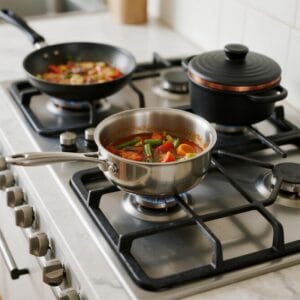
I’ve personally used tri-ply stainless steel cookware for over 12 years, and I can tell you it’s incredibly reliable, durable, and a healthier option than many alternatives. But I often hear people say they struggle with food sticking or find cleaning difficult. Honestly, with just a few simple techniques, you can avoid these problems entirely. Remember, good tri-ply has an inner layer of food-safe 304 stainless steel, an aluminum core for even heat, and a tough 430 steel exterior for durability and induction use. This construction is designed for performance, you just need to know how to work with it.
Let’s dive into the specific tips that make using stainless steel a breeze.
What is the trick to using stainless steel pans?
Frustrated when your beautiful stainless steel pan grabs onto food like glue? Does the thought of scraping off stuck bits ruin your cooking joy? Mastering heat is the simple solution.
The main trick is proper preheating: heat the dry pan over medium heat before adding oil. Test readiness with a water drop – it should bead up and dance, not just evaporate.
This preheating step is crucial, and here’s why it works. When stainless steel heats up, the metal expands slightly, closing the microscopic pores on its surface. Adding cold oil or food to a cold pan means the food can get into these pores before they close, causing it to stick when the pan heats up.
Mastering the Preheat
- Start Dry: Place the clean, dry pan on the burner.
- Medium Heat: Turn the heat to medium or medium-low. Tri-ply heats very efficiently due to the aluminum core, so you rarely need high heat. Let it heat for 2-3 minutes.
- The Water Test: Flick a tiny drop of water onto the pan surface.
- If it sizzles and evaporates immediately, the pan isn’t hot enough. Wipe dry and wait a bit longer.
- If it forms a single bead (or multiple beads) that glide around the surface like mercury, the pan is perfectly preheated. This is known as the Leidenfrost effect.
- If the water splatters aggressively into many tiny drops, the pan might be slightly too hot; reduce the heat a touch.
- Add Oil: Once the pan passes the water test, wipe out any remaining water quickly. Add your cooking oil or fat. It should shimmer almost immediately. Swirl to coat the bottom.
- Add Food: Add your ingredients. You should hear a gentle sizzle, not an aggressive crackle.
This might sound complicated, but after a few tries, it becomes second nature. Patience during preheating is the single biggest factor in preventing sticking on stainless steel.
How do you keep things from sticking to stainless steel pans?
Fighting a constant battle against stuck-on food residue? Tired of soaking and scrubbing your pans after every meal? A few preventative measures make all the difference.
Prevent sticking by preheating the pan properly, using enough oil or fat, ensuring the oil is hot before adding food, and resisting the urge to move food too soon.
Sticking happens for predictable reasons. Understanding them helps you avoid the frustration. Beyond the crucial preheating step we just covered, here are the other key factors:
Key Factors to Prevent Sticking
| Factor | Why it Matters | How to Do It Right |
|---|---|---|
| Proper Preheat | Closes surface pores before food contact. | Heat dry pan on medium, use water drop test to confirm readiness before adding oil. |
| Sufficient Fat | Creates a barrier between the food and the metal surface. | Use enough oil/butter/fat to coat the bottom of the pan evenly. Don’t be too stingy, especially with lean foods. |
| Hot Oil | Helps sear the food surface quickly, creating a crust that prevents sticking. | Add oil after the pan is preheated. It should shimmer instantly. Let it heat for a few seconds before adding food. |
| Moderate Heat | Prevents food from burning before it cooks and releases naturally. | Use medium or medium-low heat for most cooking. Tri-ply conducts heat well, so high heat is rarely needed. |
| Warm(er) Food | Reduces the temperature shock when food hits the pan. | Let refrigerated items like meat or eggs sit out for 10-15 minutes before cooking if possible. Pat meat dry. |
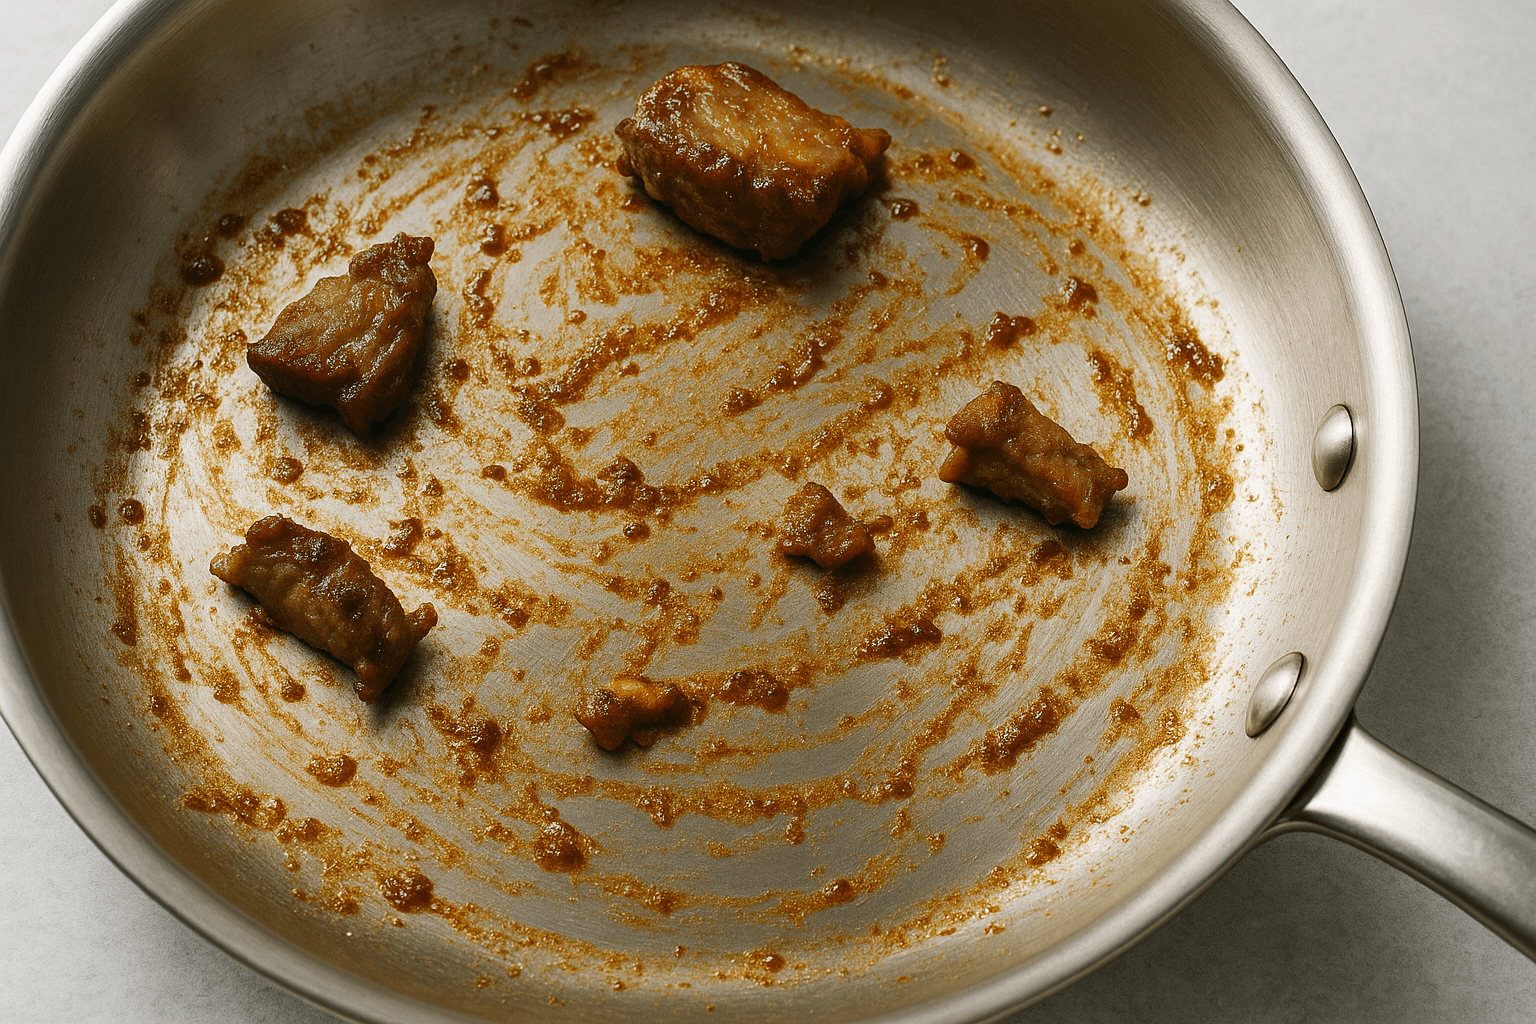
| Don’t Move Too Soon | Allows food (especially proteins) to form a crust and release naturally. | Place food in the hot pan and leave it undisturbed for a few minutes until it develops color and releases easily. |
Following these steps consistently turns stainless steel from a potentially sticky surface into a reliable cooking tool. Remember, stainless steel isn’t inherently non-stick like coated pans, but using these techniques creates a naturally low-stick environment. Patience is key – let the pan and the fat do their work.
What not to do with stainless steel pots and pans?
Want your expensive stainless steel cookware to last for years? Worried you might be accidentally damaging it? Avoiding a few common mistakes keeps your pans performing well.
Avoid drastic temperature changes, using abrasive cleaners or steel wool, overheating an empty pan for too long, and storing salty or acidic foods in the pan long-term.
Stainless steel, especially quality tri-ply, is incredibly durable, but it’s not indestructible. Treating it right ensures it lasts a lifetime. Here are the main things to avoid:
Common Mistakes to Avoid
- Don’t Cause Thermal Shock: Avoid plunging a hot pan into cold water or vice versa. Sudden, extreme temperature changes can cause the metal layers to expand or contract at different rates, potentially leading to warping over time. Let pans cool down before washing.
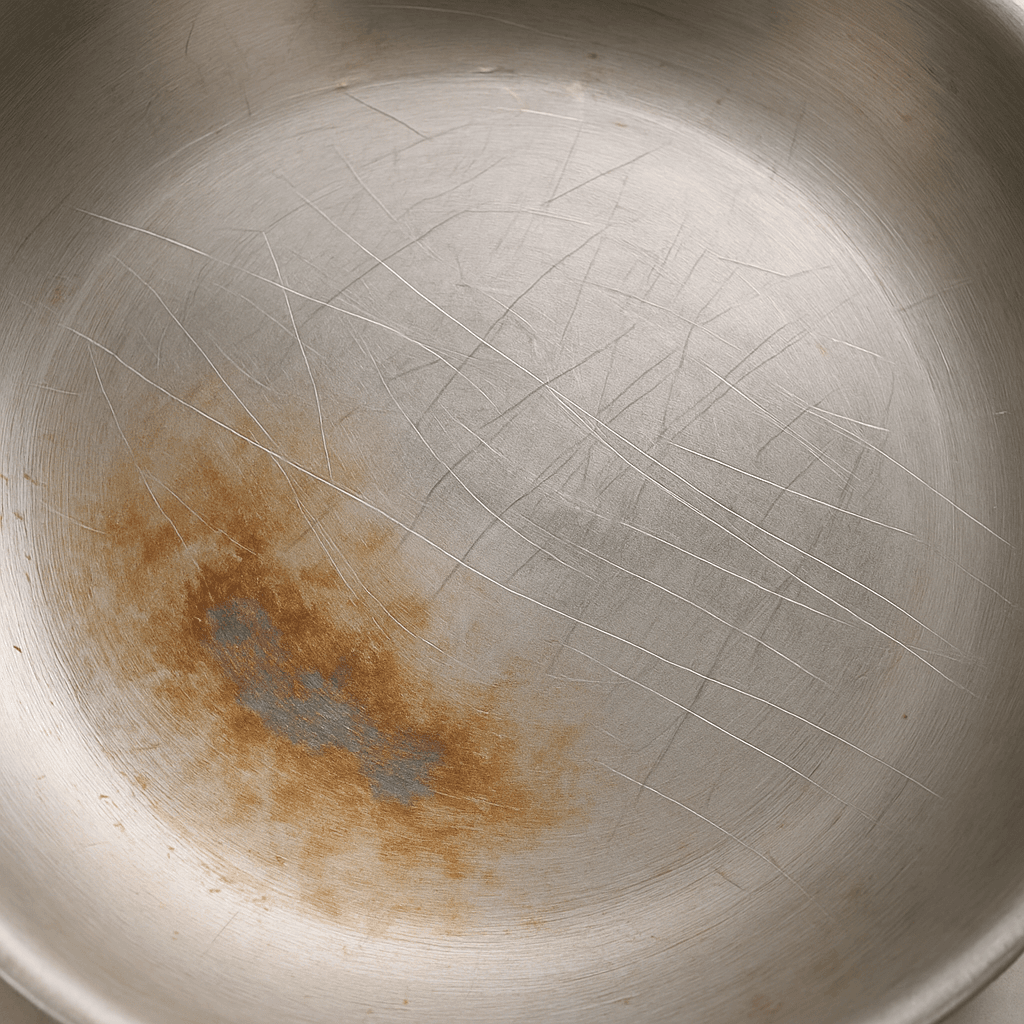
- Don’t Use Abrasive Cleaners: Steel wool, harsh scouring pads, and abrasive cleaners (like Comet) will scratch the polished surface. While scratches won’t necessarily ruin the pan’s function immediately, they dull the appearance and can make cleaning harder over time. Stick to soft sponges or nylon scrubbers. For tough stains, use Barkeeper’s Friend or a paste of baking soda and water.
- Don’t Overheat an Empty Pan Excessively: While preheating is essential, don’t forget about an empty pan on high heat for an extended period. Extreme overheating can cause discoloration (blue or rainbow tints) that can be hard to remove, and in severe cases, could potentially affect the metal’s structure.
- Don’t Use Metal Utensils Carelessly: While stainless steel is tougher than non-stick, metal utensils can still scratch it. It’s best to use wooden, silicone, or nylon tools. If you must use metal, do so gently – avoid scraping aggressively.
- Don’t Store Food (Especially Acidic/Salty) Long-Term: Stainless steel is non-reactive for cooking, but leaving highly acidic (like tomato sauce) or salty foods sitting in the pan for days in the fridge can potentially lead to pitting or staining over time. Transfer leftovers to appropriate storage containers.
- Don’t Assume All are Dishwasher Safe: While many tri-ply pans are technically dishwasher safe, harsh detergents and high heat cycles can dull the finish over time. Handwashing is generally recommended to maintain the shine. Always check the manufacturer’s instructions.
Avoiding these simple mistakes will keep your stainless steel cookware looking great and performing reliably for many, many years.
How do you keep eggs from sticking to stainless steel pans?
Dreaming of perfectly cooked eggs sliding out of your stainless steel pan, but end up with a stuck-on mess? Think it’s impossible without non-stick? It’s achievable with the right approach!
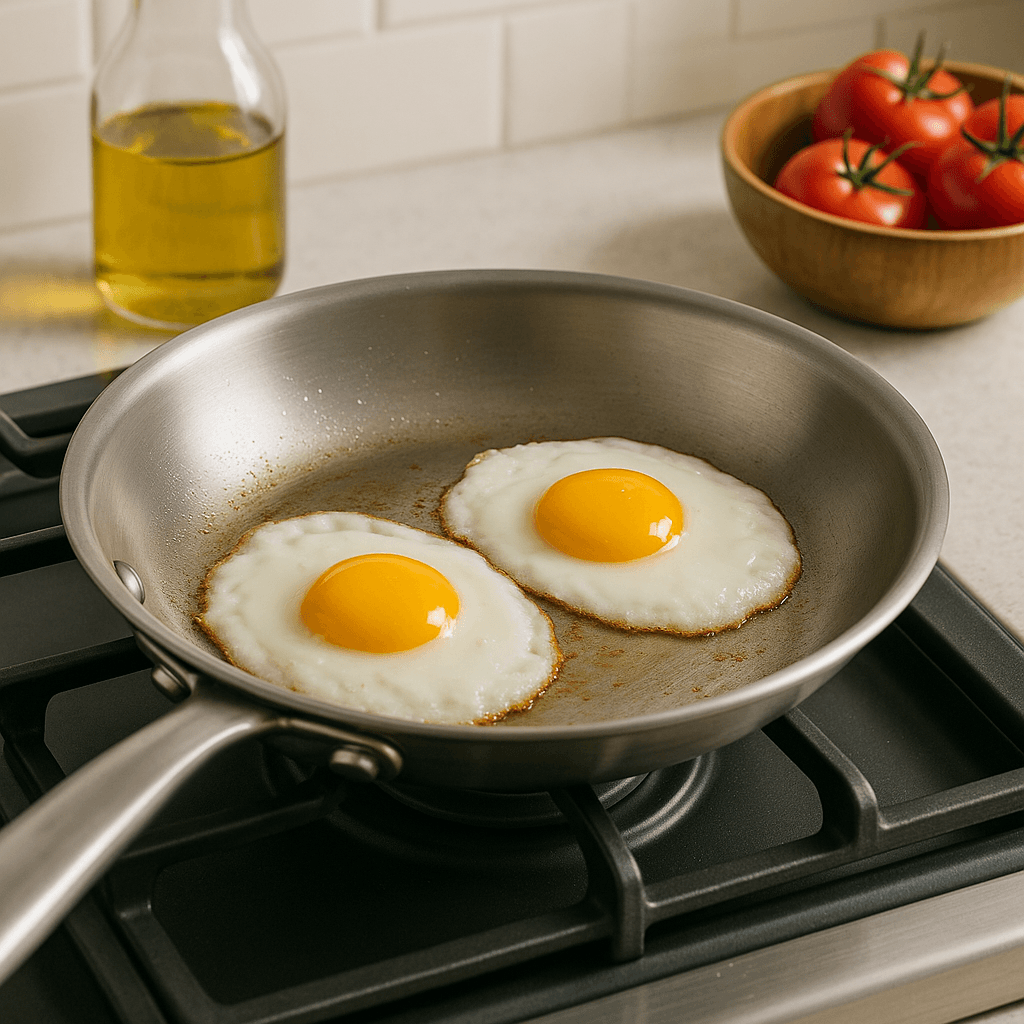
Prevent eggs from sticking by ensuring the pan is perfectly preheated (water test!), using enough butter or oil, cooking on low to medium-low heat, and letting the eggs set before trying to move them.
Eggs are notorious sticklers because their proteins bond quickly to hot metal surfaces. But stainless steel can handle eggs beautifully if you follow the key principles carefully:
The Stainless Steel Egg Technique
- Preheat Perfectly: This is non-negotiable for eggs. Heat the clean, dry pan over medium-low heat for 2-3 minutes. Perform the water drop test. You absolutely need the water to bead up and glide before proceeding. If it just sizzles away, wait longer.
- Use Enough Fat: Once the pan is hot, add a generous amount of butter or oil – enough to fully coat the bottom where the eggs will cook. Butter works well because its foaming action helps indicate temperature. Wait for the butter to melt and the foaming to subside slightly, or for oil to shimmer nicely.
- Lower the Heat: Just before adding the eggs, you might want to lower the heat slightly, especially if using butter, to prevent instant burning. Low to medium-low is ideal for eggs.
- Add the Eggs: Gently crack the eggs into the hot fat. You should hear a gentle sizzle. If it’s silent, the pan/fat wasn’t hot enough. If it crackles violently, it’s too hot.
- Be Patient: This is crucial! Do not touch the eggs immediately. Let them cook undisturbed for at least 30-60 seconds (or longer for over-easy/medium). The edges should start to set and turn opaque.
- Test for Release: Gently nudge the edge of an egg with a thin spatula (silicone or nylon recommended). If it moves freely, you can proceed to flip or serve. If it feels stuck, give it another 20-30 seconds. The egg whites need time to cook through and release from the pan surface.
Using room temperature eggs can sometimes help, as they cause less of a temperature drop when hitting the pan. With practice, cooking eggs in stainless steel becomes easy and reliable, eliminating the need for dedicated non-stick pans for this task.
Conclusion
Mastering stainless steel cookware is easy with the right techniques. Proper preheating, adequate fat, moderate heat control, and correct cleaning ensure non-stick performance and long-lasting durability for your sets.


One Response
This is exactly what I needed to read today.